Office Makeover – 99% complete!

So, please don’t judge because I am obviously not an awesome photographer but I wanted to share the progress on my office.  I’m very happy with how it turned out and it is already functioning so much better for me!  I say 99% complete because, as designers, we are always tweaking and improving upon things in our homes…we can’t help it!

Anyway, here’s where we left off…I moved my desk to under the window which made me hugely more productive and I added a second desk as a credenza on the other wall.  Here’s an “in progress” shot:
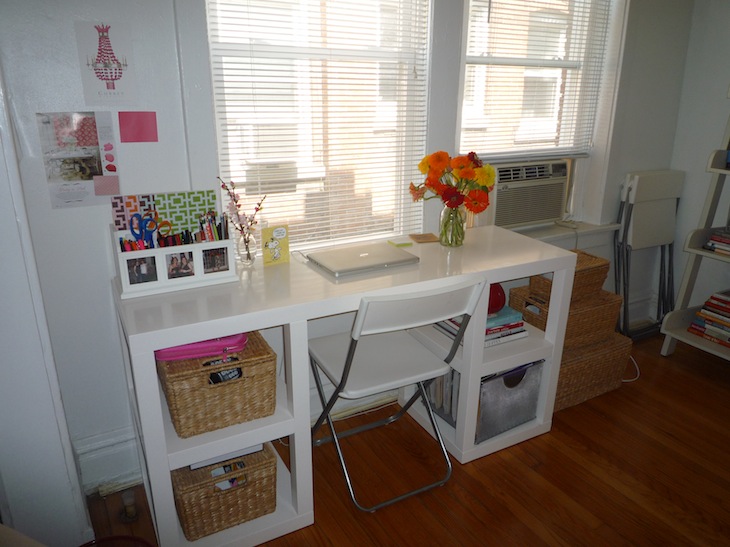
Love, love, love my desk under the window!

After working at my new desk for a couple of months, I realized I needed a lamp at night…so the search began!  I knew I didn’t want a task lamp or something that looked too functional.  I think that lamps are kind of like sculptures so it was important to find one that I really loved and…voila!  I fell in love with this lamp!
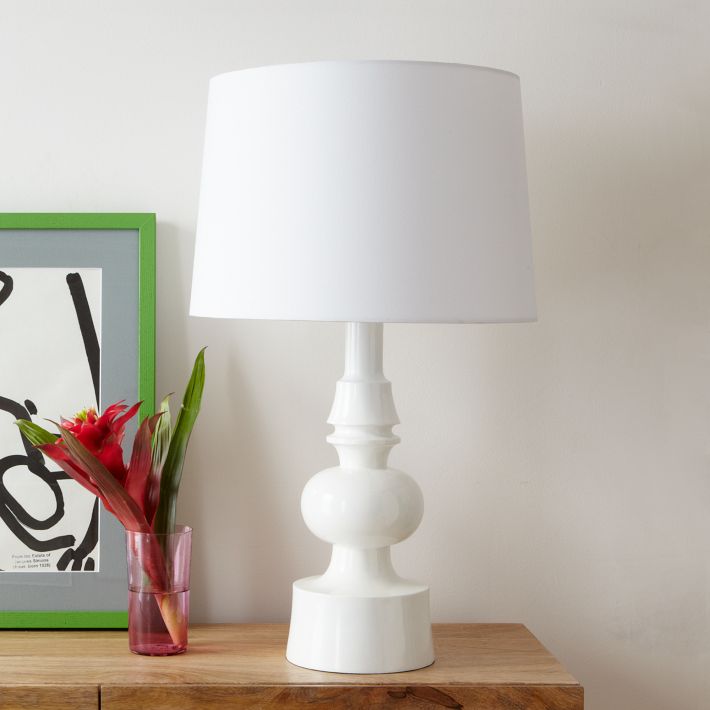
West Elm – Turned Table Lamp
I was so excited when I got it that I opened it that night and took a quick picture! Love it!

Meanwhile, my family had been working diligently to finish my pink chairs for my birthday!  You can read more about the transformation in my previous blog post.  I couldn’t wait to see how they would look in my office!
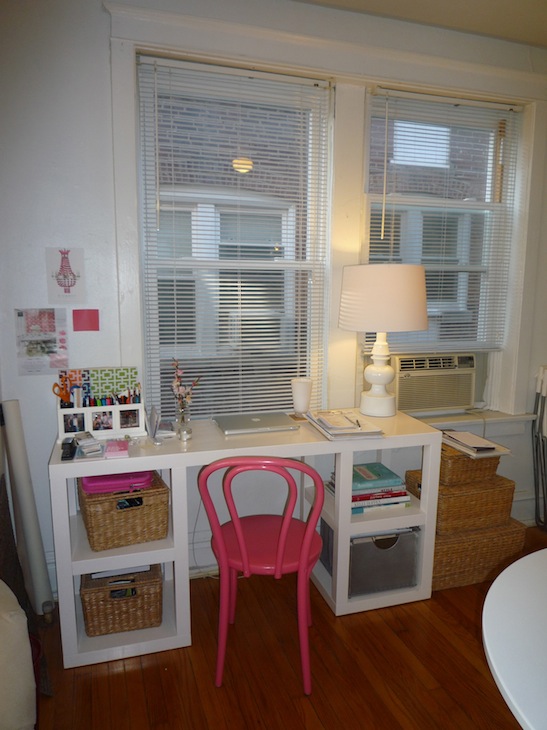
The chair, desk and lamp are a great combo!

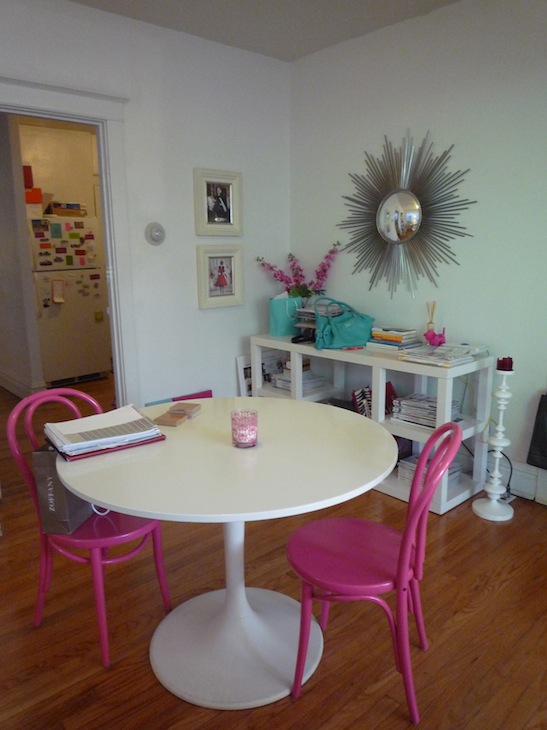
Note: it is usually suggested to add pops of color in odd numbers…therefore, it worked out that I only ended up with 3 pink and 1 silver chair.  The silver chair stays in the living room while the 3 pink chairs “balance” each other in the office.
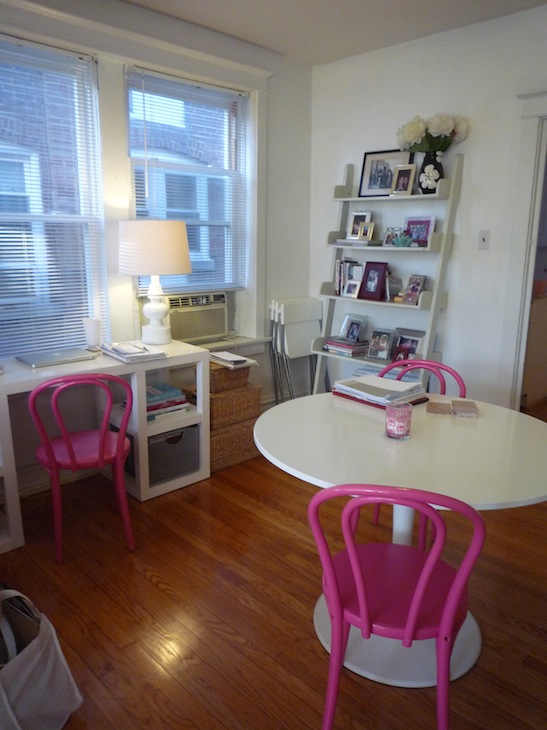
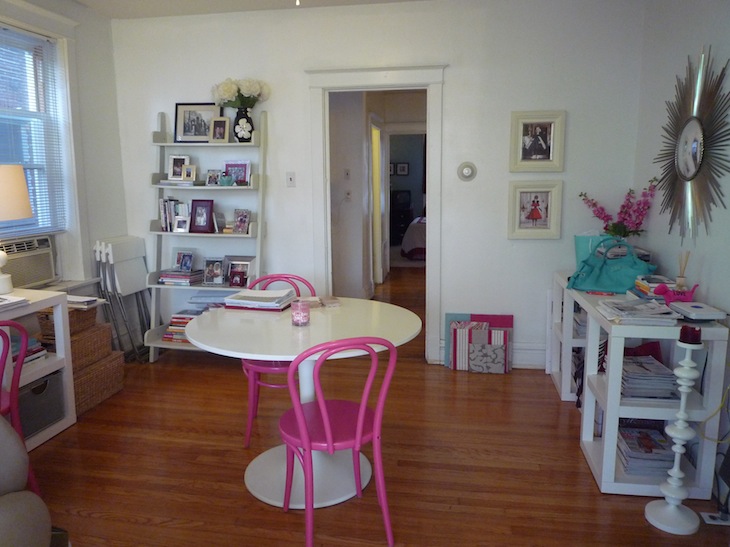
The chairs in “action”!
A bit messy but very functional.
Another messy shot of the office…

So, the last step (for now) was to get the credenza a bit more organized.  And when I say organized, I really mean I need more bins to hide my stuff! I went to Target and found these cute black & white chevron bins that hold a lot…and we know how much I love chevron!
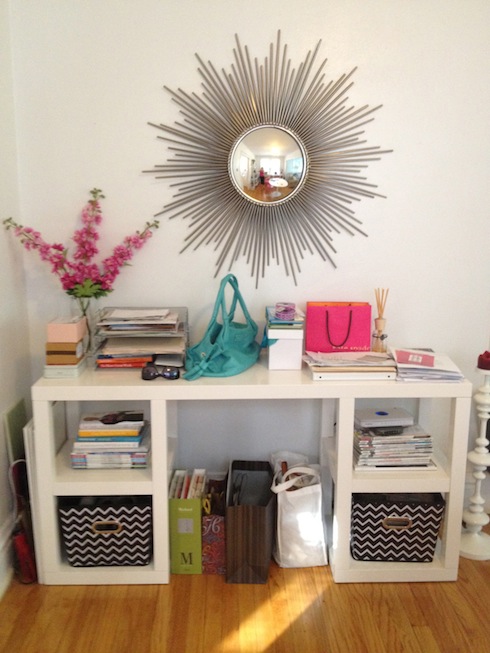
The end…for now!

Overall, I love that my office is crisp, functional and can easily transform back into a dining space.  All I do is add tablecloths over the credenza and desk and I instantly have 2 buffets!  And, most importantly, my office allows me to think creatively while designing for my clients.  What more could I ask for?  Hope you enjoyed the blogs, thank you for riding along on my journey!
DIY – The Bentwood Chair Transformation

Hello!  Meet my new chairs and see their journey to my dining room!

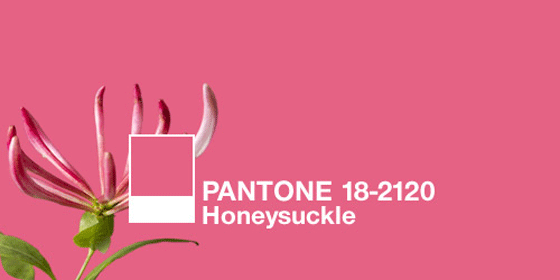
So, I had the bright idea to get inexpensive chairs and paint them pink to add a pop of color to my dining room/office.  Of course I chose pink…not shocking at all given my obsession with the color.  Not just any shade of pink, naturally, it had to be the Pantone color of the year for 2011 (when I started this project) Honeysuckle…which will look fabulous!  I had to assure a lot of people, especially my family (boys) who did not see my vision…now to find chairs!

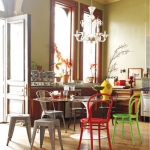
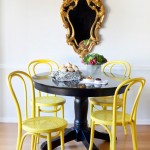
These photos were my inspiration for doing painted chairs…I showed my friends and family, but some people still couldn’t envision pink.


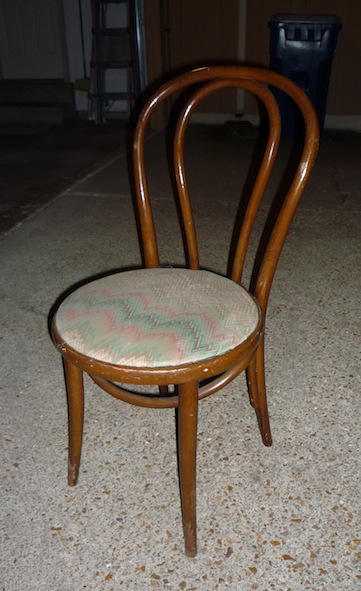
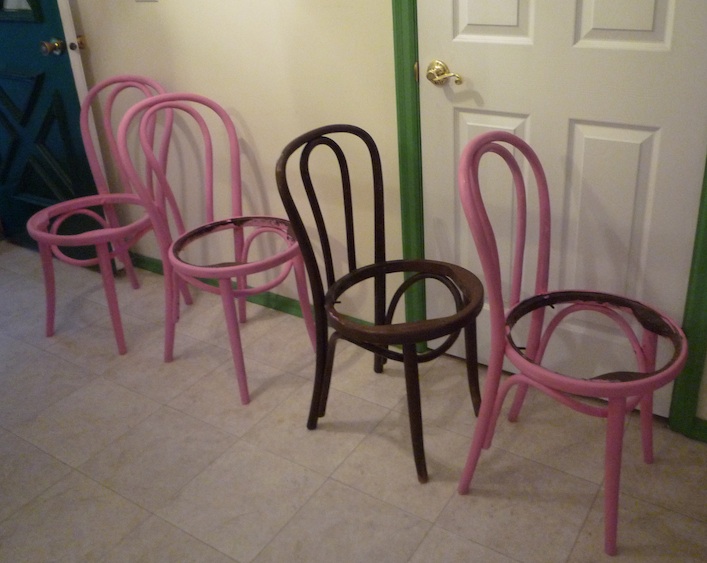
It’s funny how I was always drawn to the simple, classic shape of the Bentwood chairs.  It actually took me several months of on and off scouring Craig’s List for the “right” chairs to take on the festive pink hue and not break my piggy bank.  I was so excited when I finally discovered these “gently-worn” vintage Bentwood chairs and purchased all 4 for $20!

Seriously needs help!

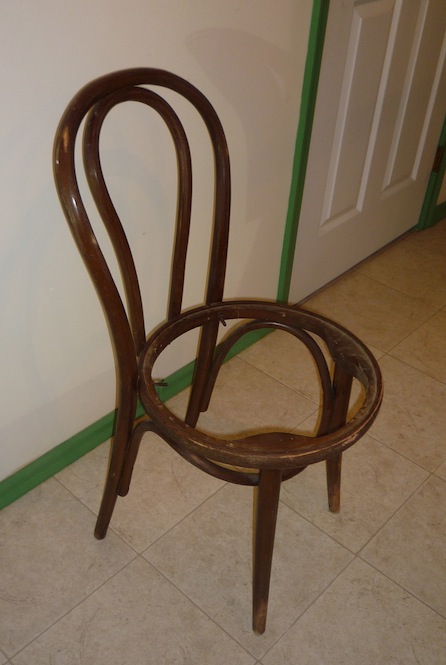
I did a lot of searching for fabric to recover the chair seats…a lot of searching, actually.  In the end, I decided I liked the simplicity of the wood seats instead.  So, my dad had to remake them because the original seats were in bad shape.

Stripped down and ready to sand & prime
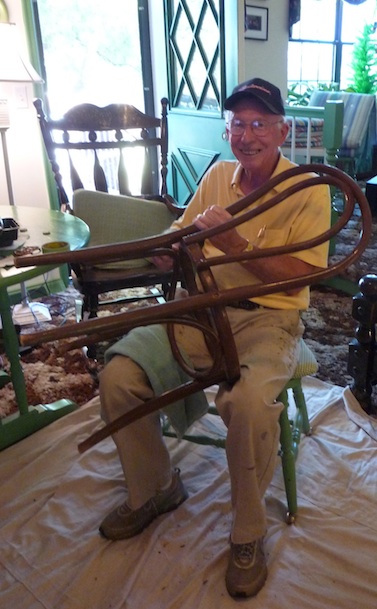
My grandpa makes the best helper! He’s always ready to tackle a project with me!
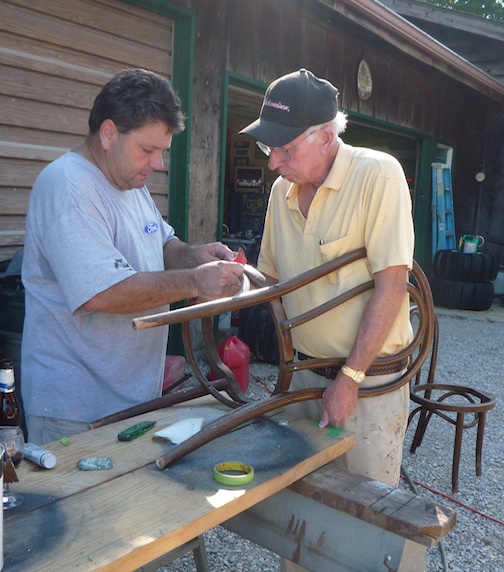
A few of the chairs needed a bit more repair…we called in my uncle Doug, our “body man” to do his magic!

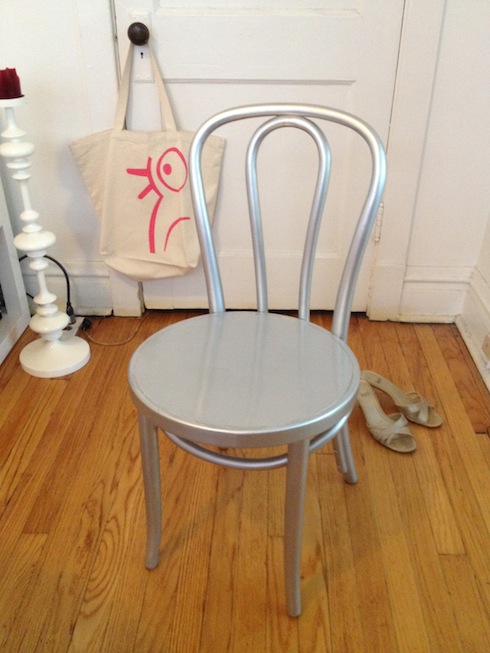
After getting them home and inspecting them further, I discover that one of the chairs has a slightly different shape and is shorter than the other 3. My family thinks no one would notice but I decide to highlight the difference and paint that chair silver.

The 3 pink chairs got tinted primer, they look like I coated them in Pepto-Bismol at this point…

After lots more painting, sanding, clear coats…basically blood, sweat and tears from my family, my chairs arrived for my birthday last year!  They look great in my apartment and I’m so happy with how they turned out!  Huge thanks to my family for all their hard work!!!

The pink is fabulous! Check out how well it coordinates with my original Jeff Kapfer bag, too!
Love how the silver turned out, too!
All 4 chairs ready for a party!
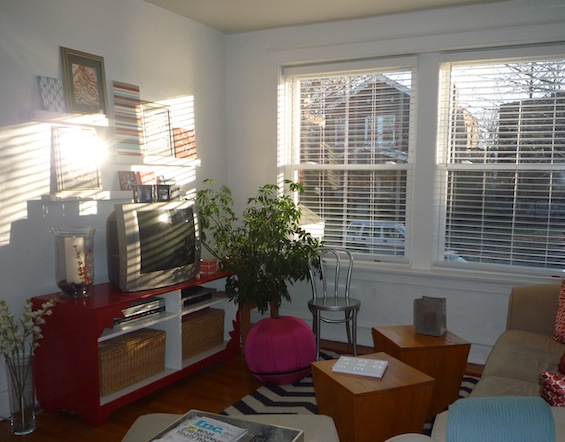
The silver chair adds a little sparkle to my living room!

Stay tuned for the blog post on the completion of my office with the new chairs!

my collage wall

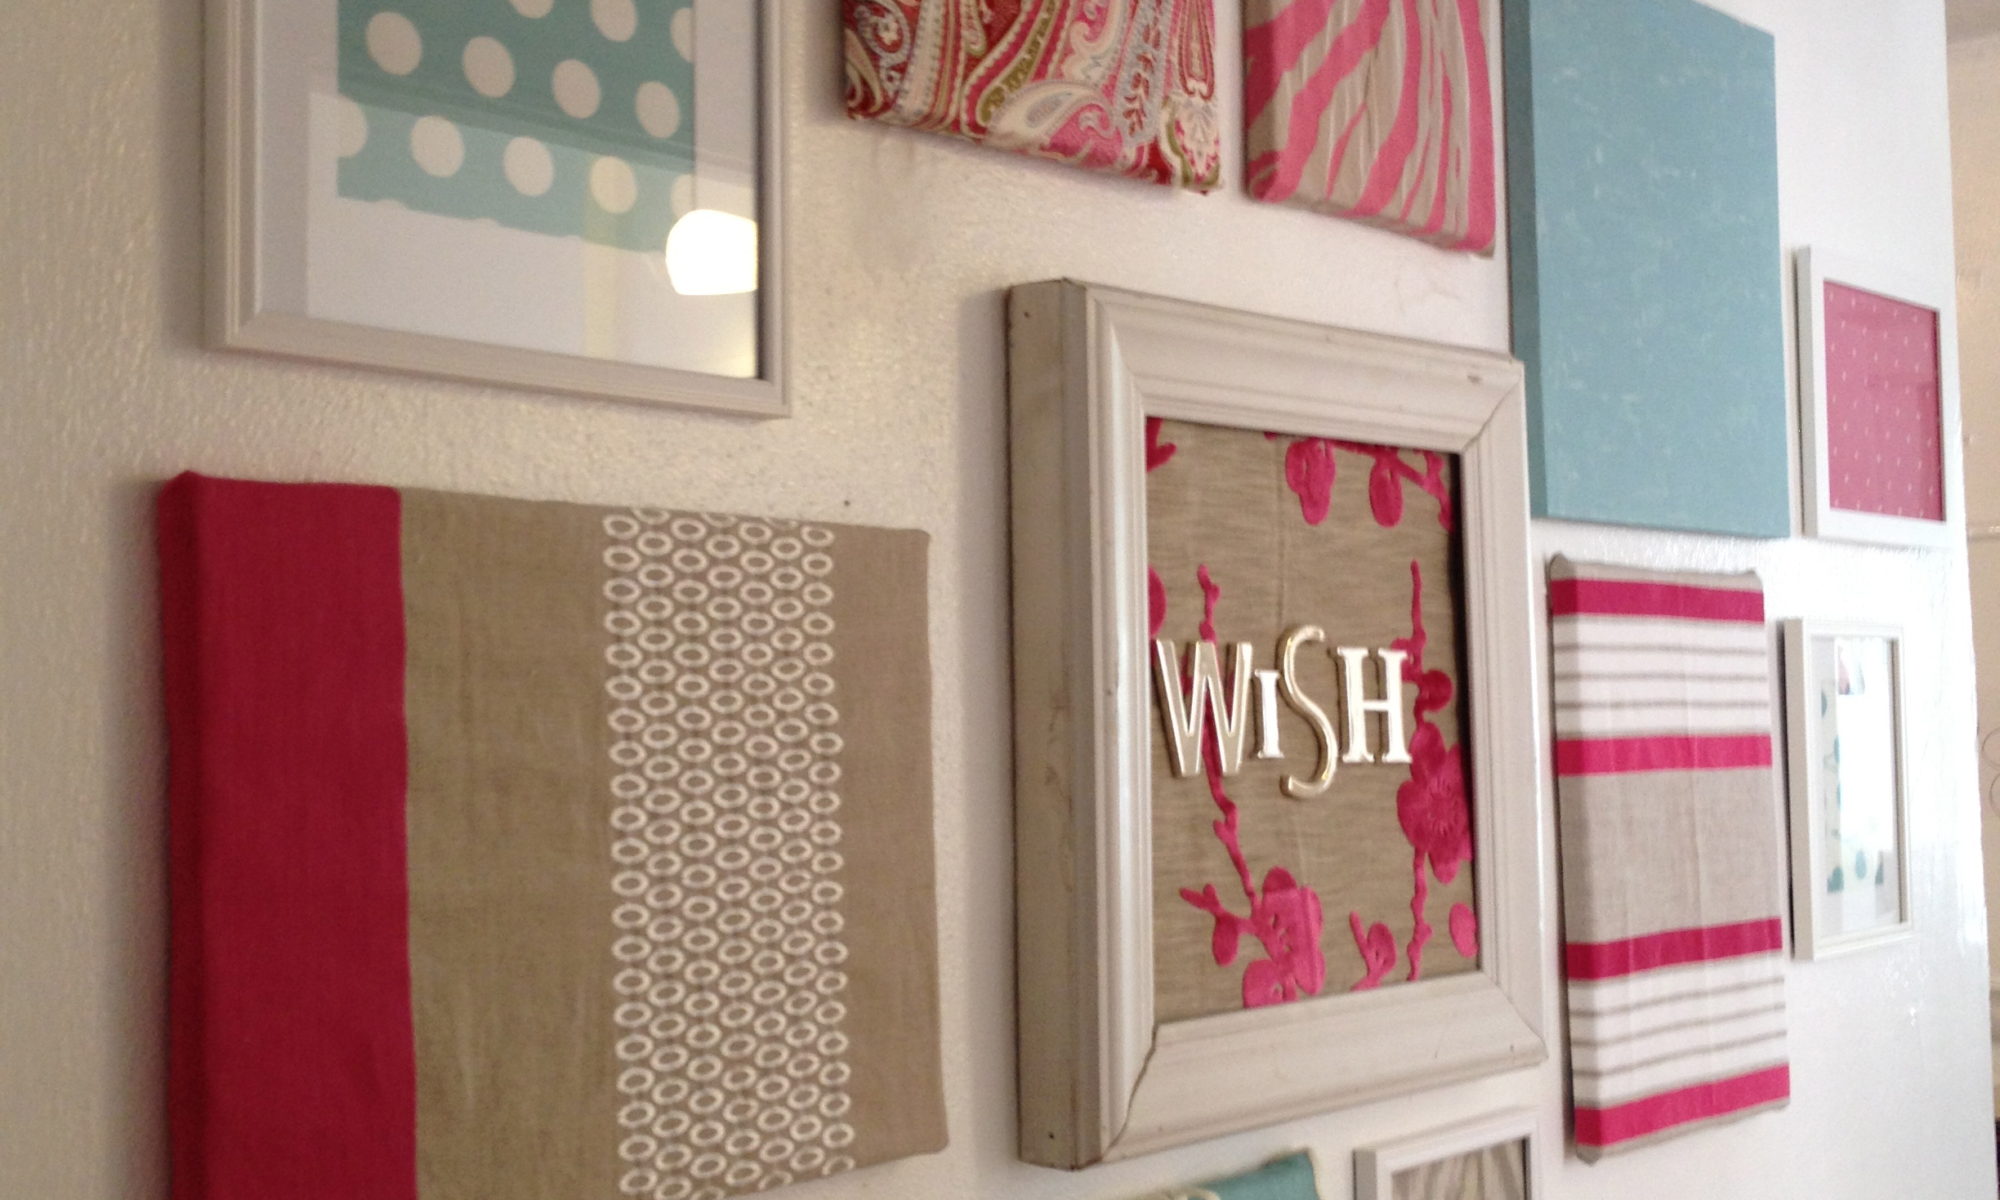
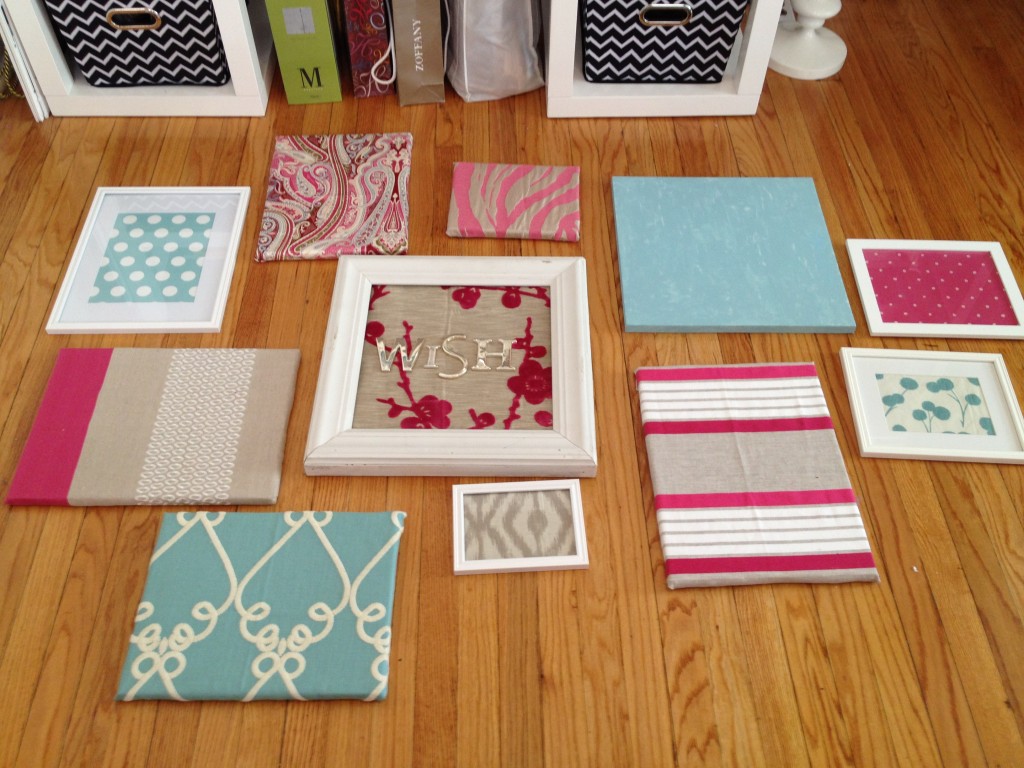
So, about 3 years ago, I started collecting fabric swatches, wallpaper samples and fun wrapping paper pieces in the hopes that I would someday assemble them into a cohesive collage.  I had the intention of filling the small wall outside my bathroom with all these bright color fabrics and canvases.

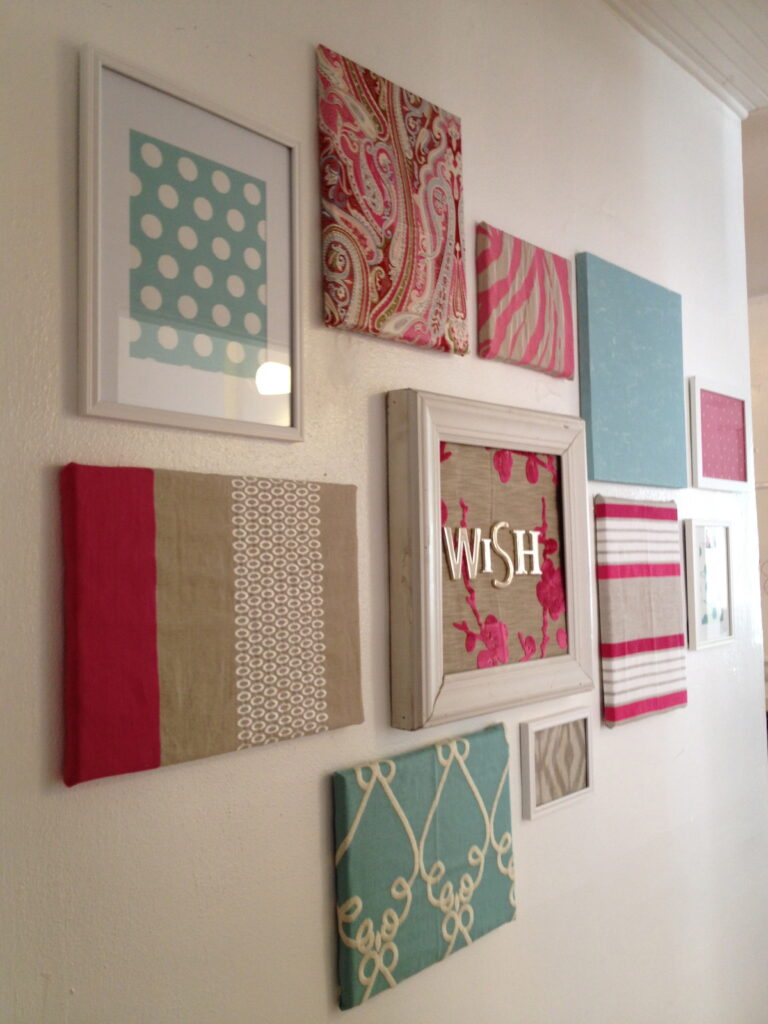
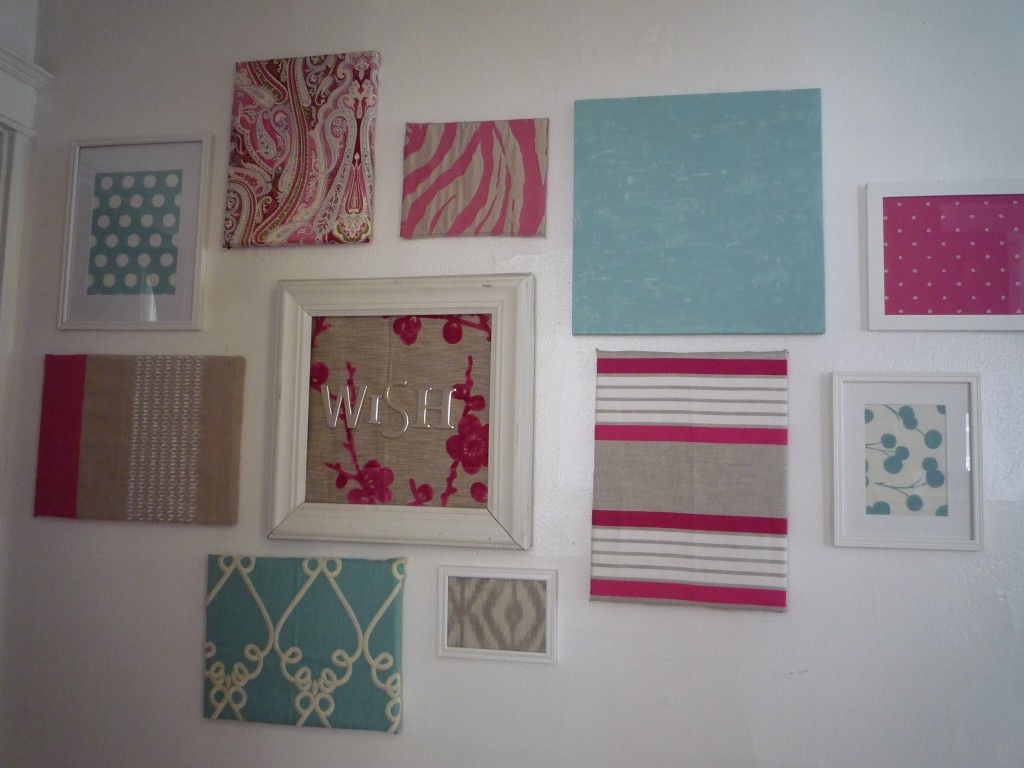
I am so proud that I finally finished it and am able to share photos!  It makes me happy every time I walk by it!  A lot of people have asked for instructions…unfortunately, I was in such a “zone” when actually completing it, that I didn’t take very many pics of the process.  Here goes:

1.  I spent quite some time trying to decide on the right combination/balance of color & pattern all while mixing the frames with the canvases.  I laid everything out on my dining room floor for 2 days and kept tweaking until I got it the way I wanted it.

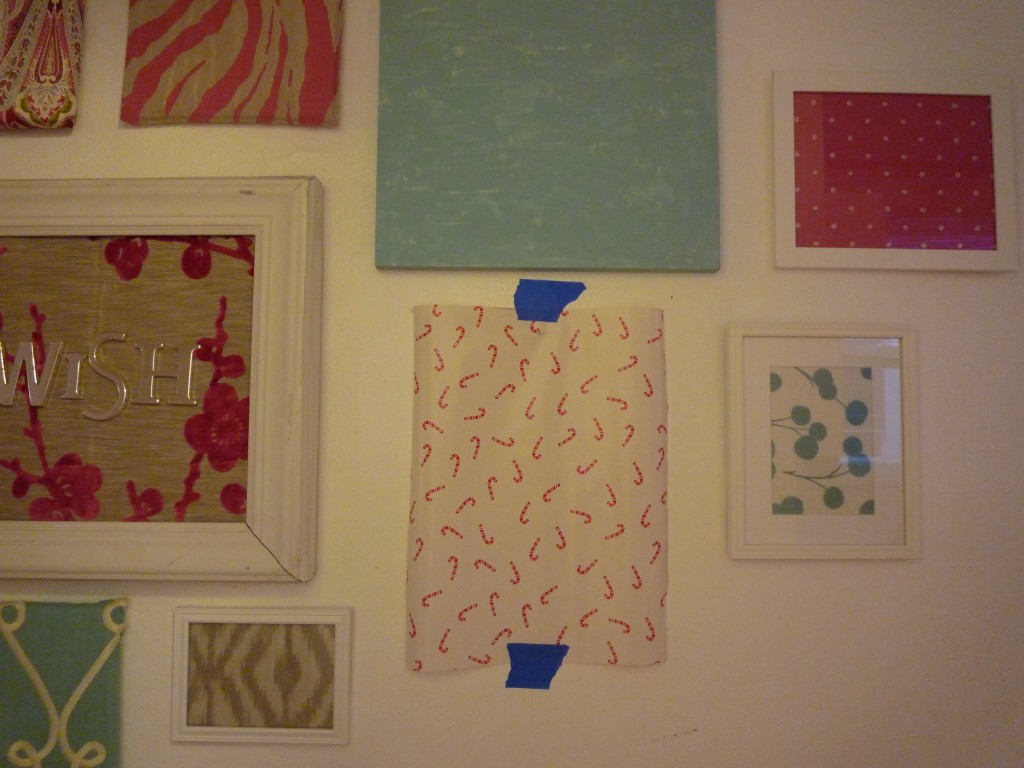
2.  I used old wrapping paper and cut out the overall size of each of the pieces and taped them all up on the wall.  I actually couldn’t take a good photo of this because the tape kept falling down.  However, I got one pic which hopefully gives you the idea.

3.  I started with the largest which is the “wish” piece and hung it slightly off center to the wall.  I tweaked each one a bit as I filled out the collage around it.  It is not important to have consistent space in this type of organic collage.  It is actually more appealing to have random spacing between the frames.

I’m very happy with how it turned out…have I mentioned that?


the power of pink

Happy Valentine’s Day!

i "heart" pink


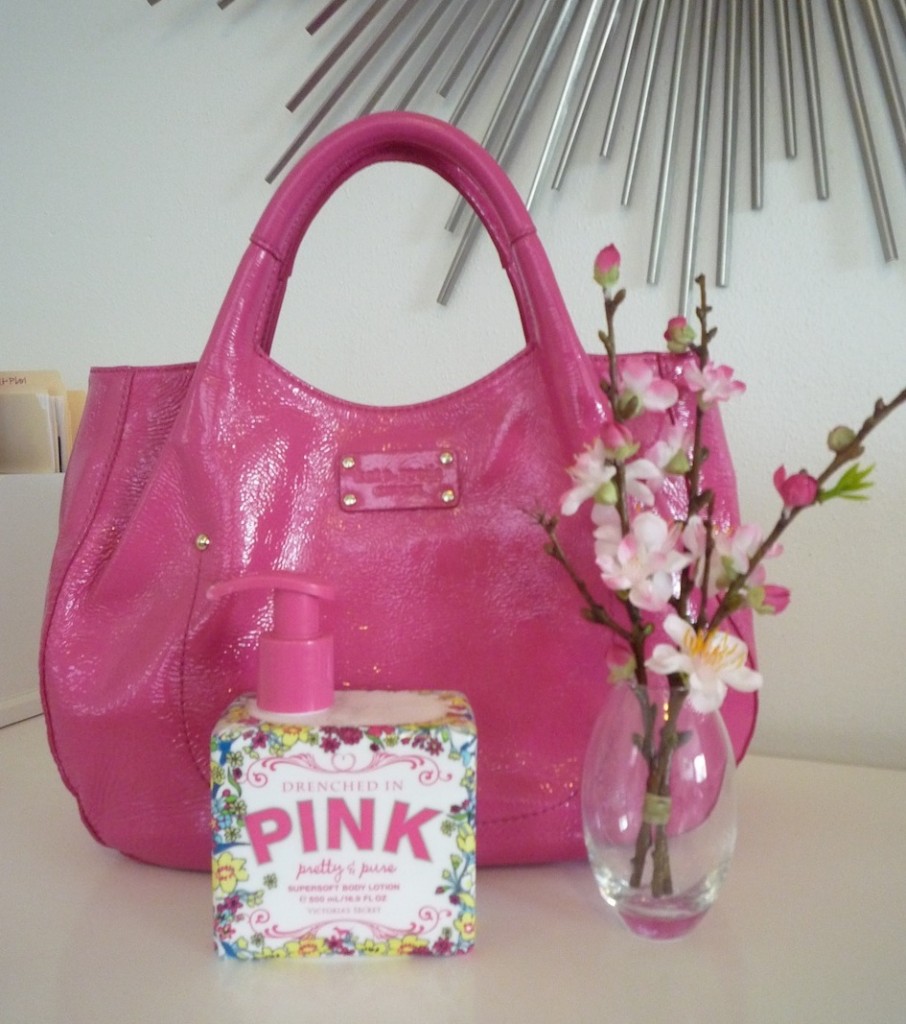
Some of you may know how much I adore pink…I can’t even count the amount of pink things that I surround myself with from clothes to ipods to perfume (Victoria’s Secret Pink) to sharpie pens to my newly adored Kate Spade bag.  Why do I love pink so much? Am I the only one?

So, on this V-day, I thought I would explore the power of pink.

In my life, this color has always spurred me to action, allowed me to face challenges with optimism.  Purchasing my first Kate Spade bag in my favorite shade was a symbol of good things to come in 2011.  I already feel it’s effects as I juggle new clients and new love.

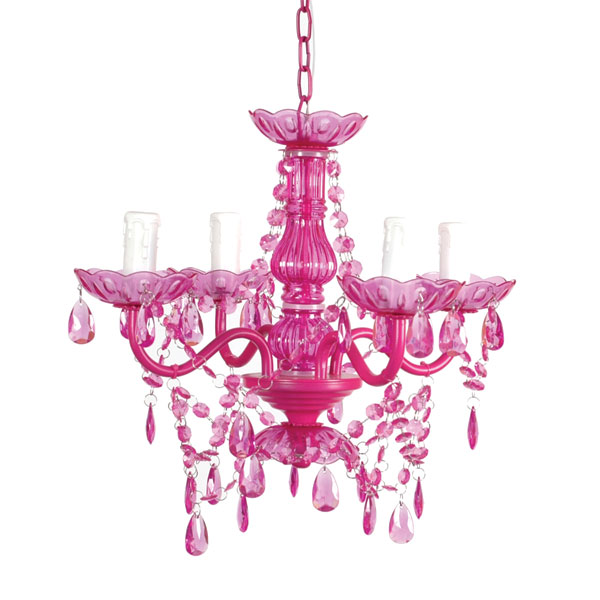
Other pink things I adore:

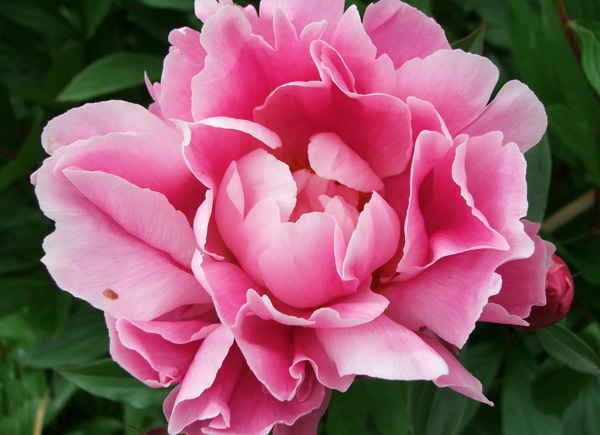
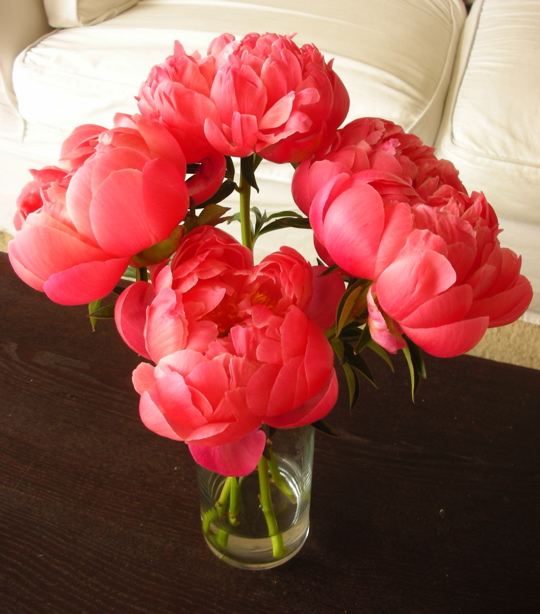
i am obsessed with peonies!


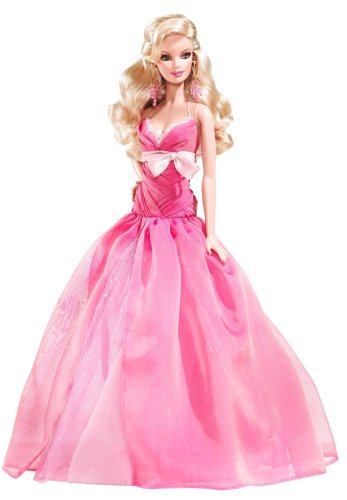
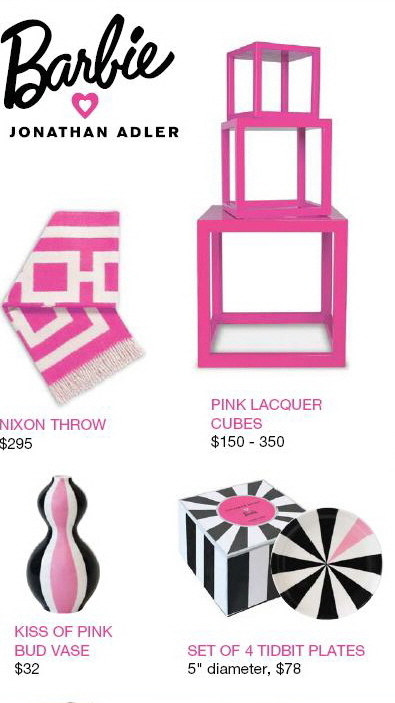
Barbie - the original "pink lady"
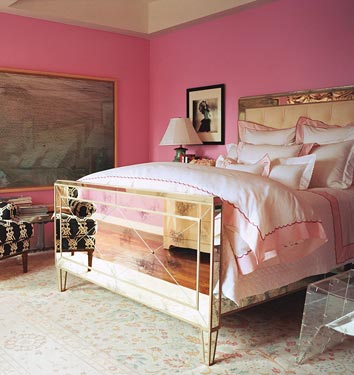
click this photo for more beautiful pink rooms!


stunning!


Benjamin Moore's Peony 2079-30
jonathan adler is after my heart!


this website has lots of things I can't live without!


this chic makes me happy!


love this idea!


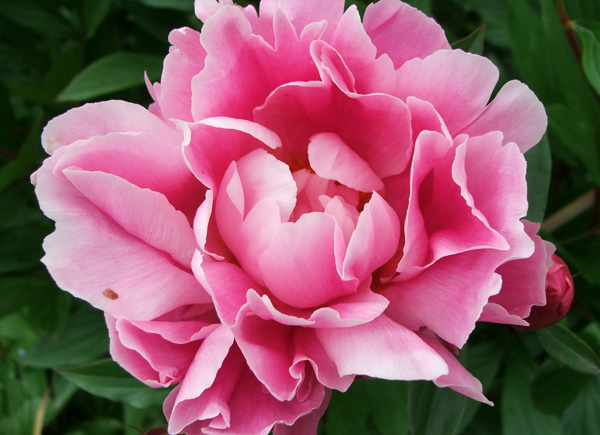
more peonies!

That’s all for now!  Happy “Heart” Day to you!