Pine Roping 101 – Concept to Installation

I’ve always loved the soft swags of pine roping I see in magazine photos.  I finally got the perfect opportunity at my client’s house last year!  See below for the process and the finished product!

218565388137399770_SIhfsro7_c
Here’s our concept photo!

So, the concept photo shows Mixed Greens roping which costs 3 times as much as the traditional White Pine roping and my client and I decided to go with the less expensive option, especially since it was our first time attempting this!

IMG_4024
(1) 75 ft bundle of White Pine Roping – is it enough?!?

I had my handyman meet me at my client’s house while she was out running errands.  I kind of wanted to play with this a bit without her feeling like we didn’t know what we were doing!  Plus I wanted the “wow” reaction when she came home!

IMG_4025
Laying out the bundle of roping…

When we started to lay out the bundle, it was a like a clown car that just kept growing and I really began to get a sense for 75 feet of pine roping!  At that point I was much more confident that we had enough to get the job done.

IMG_4026
The pine only goes one direction on the swag and we decided it was easiest to start at the top of the stairs…

While Joe was draping, I started making bows out of the burlap so we could see how long to cut each ribbon.  In order to secure the roping, we used plastic zip ties which wouldn’t scratch the wood railing and would hold the roping in place.

IMG_4028
1 row draped doesn’t make enough of an impact…
IMG_4029
2 rows draped and then we started adding bows!
IMG_4038
Loving how it is turning out!
IMG_4041
Burlap Ribbon from Pottery Barn – looks beautiful!
IMG_4046
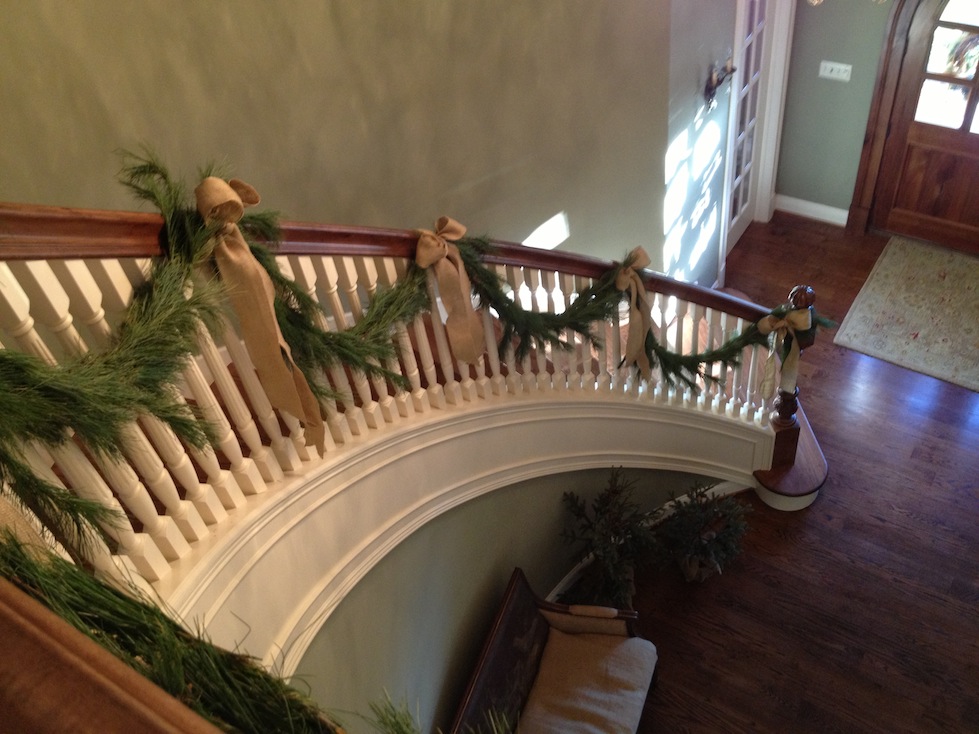
Finished product! Couldn’t be happier!

My client and I were very happy with how it turned out and it added such a simple festive element to her entry.  Not to mention the smell of the live pine roping was amazing!  It didn’t cost that much for roping and the ribbon we saved which makes this something she can do every year.

If you have a concept for holiday decor that you need help executing, let me know!

Happy Decorating!
DIY – The Bentwood Chair Transformation

Hello!  Meet my new chairs and see their journey to my dining room!

So, I had the bright idea to get inexpensive chairs and paint them pink to add a pop of color to my dining room/office.  Of course I chose pink…not shocking at all given my obsession with the color.  Not just any shade of pink, naturally, it had to be the Pantone color of the year for 2011 (when I started this project) Honeysuckle…which will look fabulous!  I had to assure a lot of people, especially my family (boys) who did not see my vision…now to find chairs!

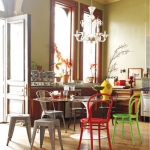
These photos were my inspiration for doing painted chairs…I showed my friends and family, but some people still couldn’t envision pink.


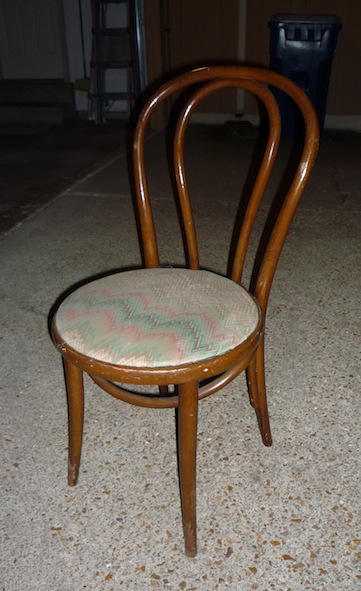
It’s funny how I was always drawn to the simple, classic shape of the Bentwood chairs.  It actually took me several months of on and off scouring Craig’s List for the “right” chairs to take on the festive pink hue and not break my piggy bank.  I was so excited when I finally discovered these “gently-worn” vintage Bentwood chairs and purchased all 4 for $20!

Seriously needs help!

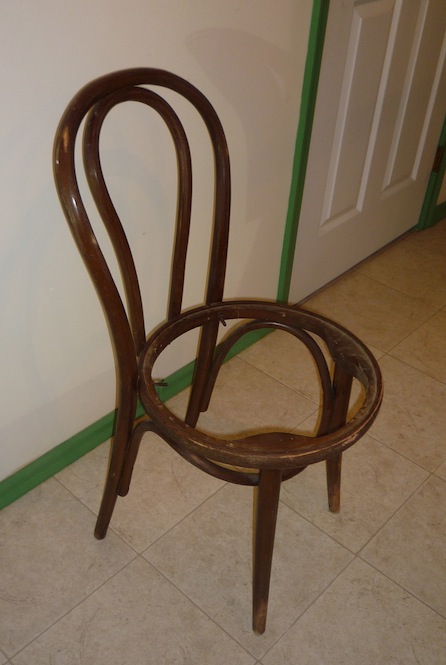
I did a lot of searching for fabric to recover the chair seats…a lot of searching, actually.  In the end, I decided I liked the simplicity of the wood seats instead.  So, my dad had to remake them because the original seats were in bad shape.

Stripped down and ready to sand & prime
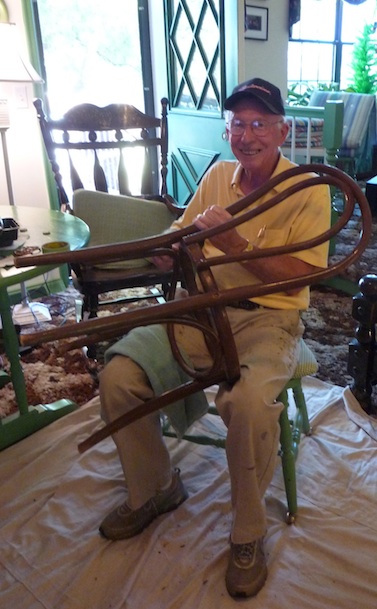
My grandpa makes the best helper! He’s always ready to tackle a project with me!
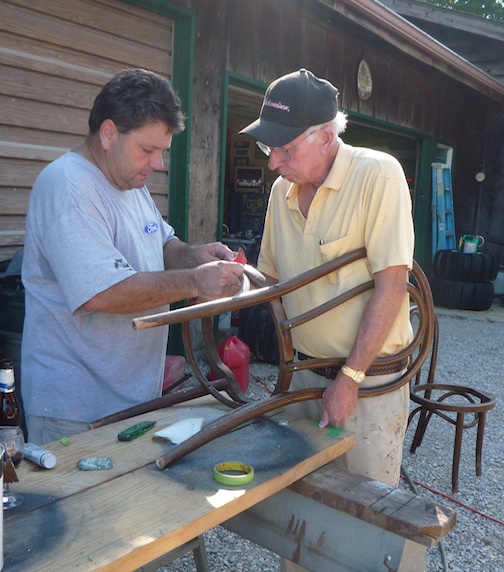
A few of the chairs needed a bit more repair…we called in my uncle Doug, our “body man” to do his magic!

After getting them home and inspecting them further, I discover that one of the chairs has a slightly different shape and is shorter than the other 3. My family thinks no one would notice but I decide to highlight the difference and paint that chair silver.

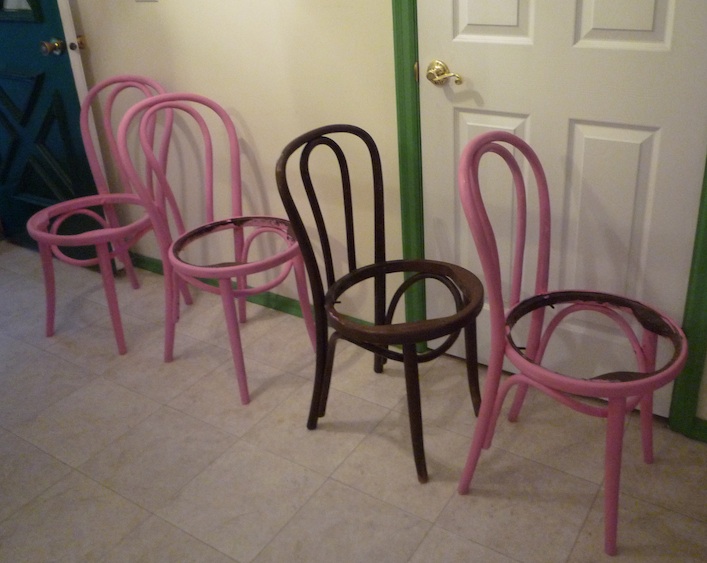
The 3 pink chairs got tinted primer, they look like I coated them in Pepto-Bismol at this point…

After lots more painting, sanding, clear coats…basically blood, sweat and tears from my family, my chairs arrived for my birthday last year!  They look great in my apartment and I’m so happy with how they turned out!  Huge thanks to my family for all their hard work!!!

The pink is fabulous! Check out how well it coordinates with my original Jeff Kapfer bag, too!
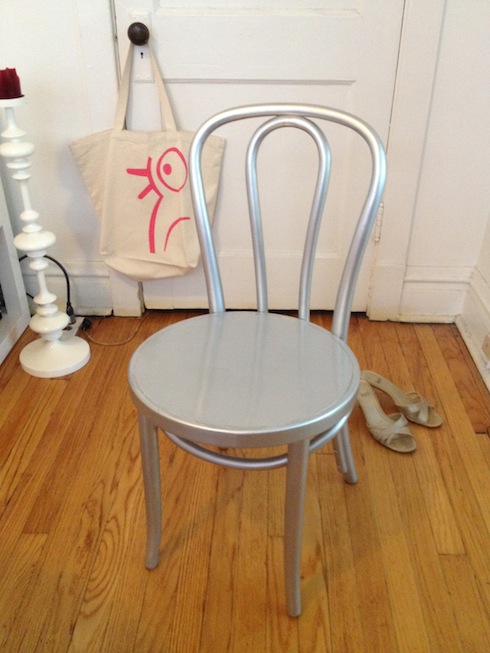
Love how the silver turned out, too!
All 4 chairs ready for a party!
The silver chair adds a little sparkle to my living room!

Stay tuned for the blog post on the completion of my office with the new chairs!

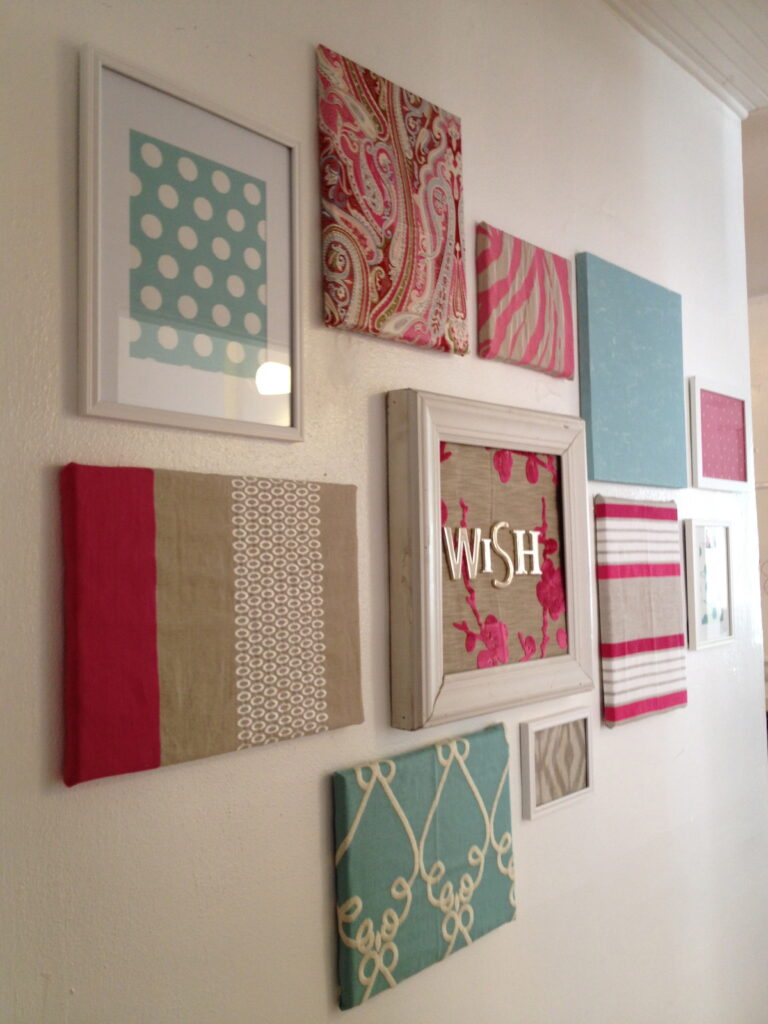
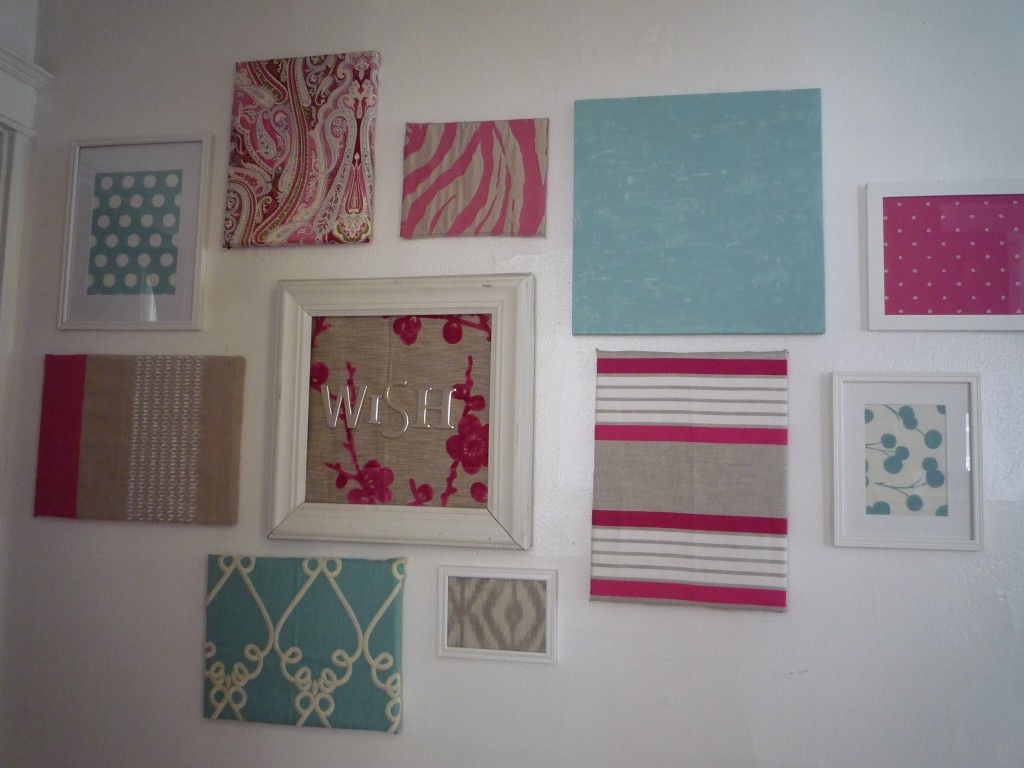
my collage wall

So, about 3 years ago, I started collecting fabric swatches, wallpaper samples and fun wrapping paper pieces in the hopes that I would someday assemble them into a cohesive collage.  I had the intention of filling the small wall outside my bathroom with all these bright color fabrics and canvases.

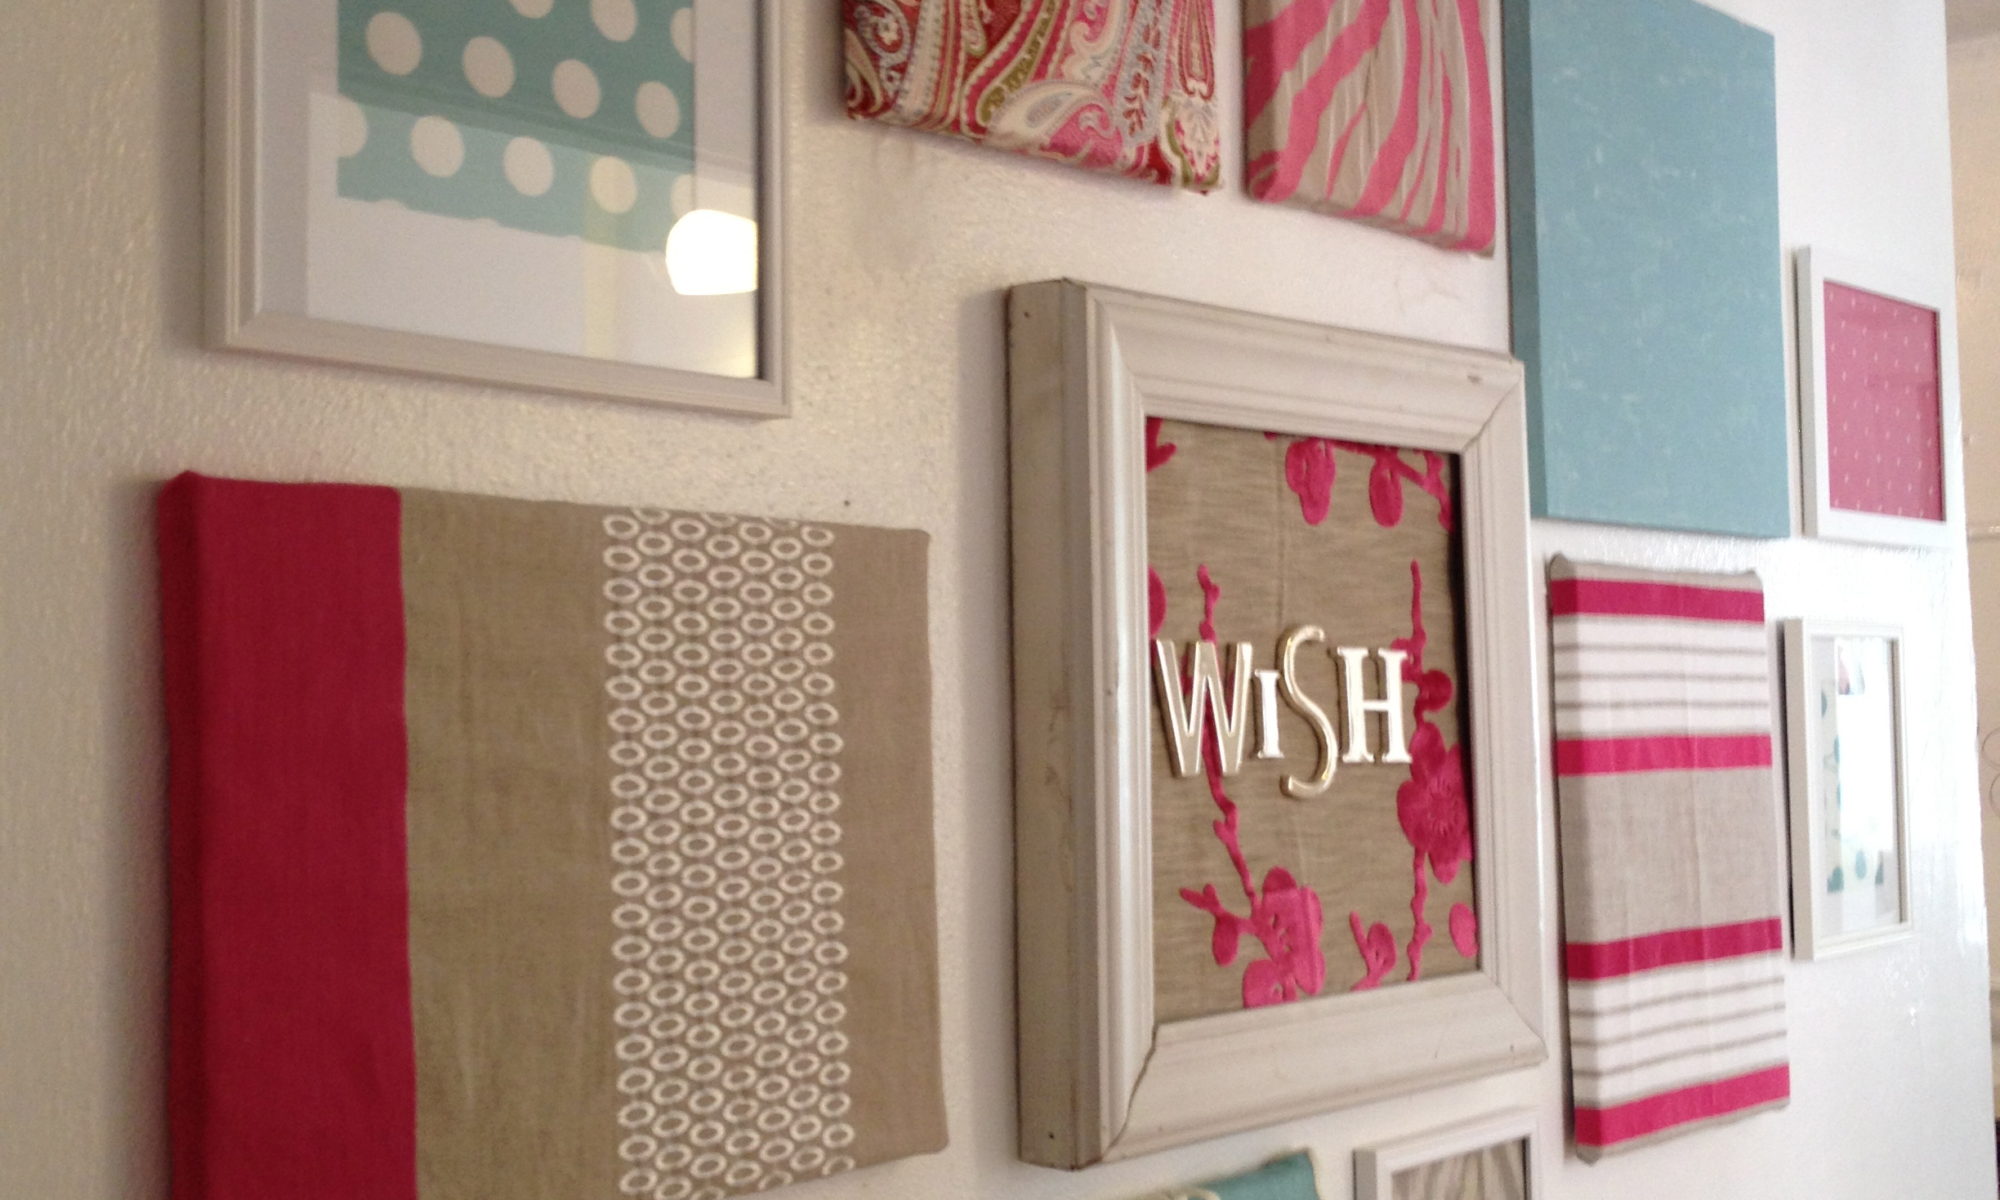
I am so proud that I finally finished it and am able to share photos!  It makes me happy every time I walk by it!  A lot of people have asked for instructions…unfortunately, I was in such a “zone” when actually completing it, that I didn’t take very many pics of the process.  Here goes:

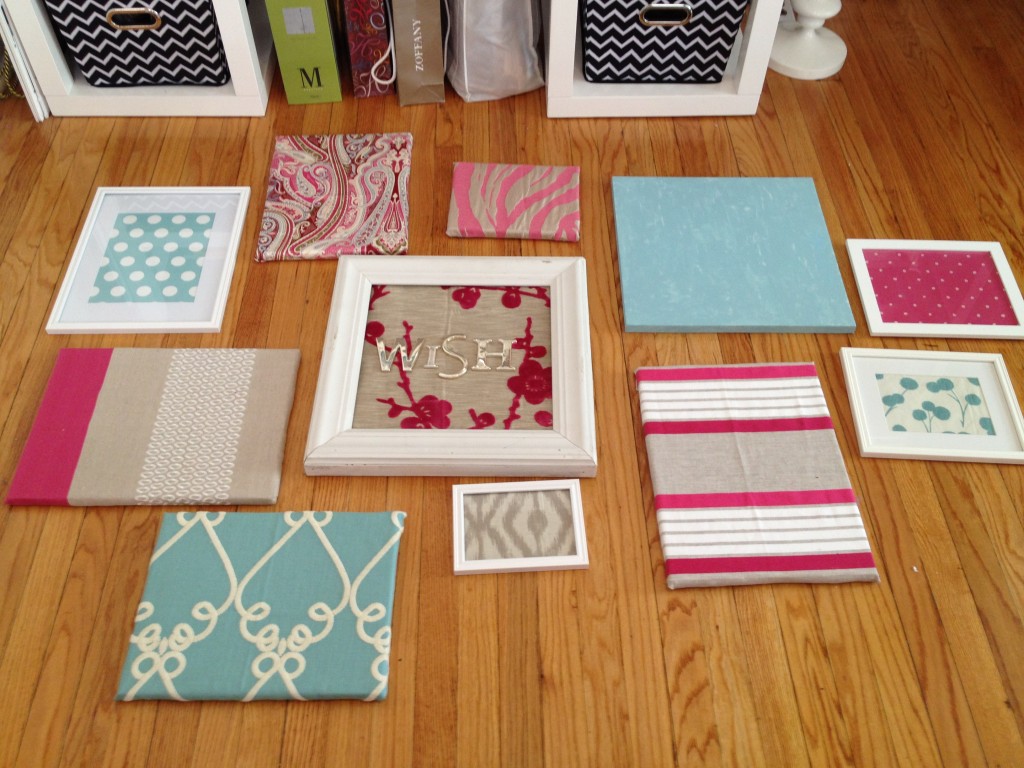
1.  I spent quite some time trying to decide on the right combination/balance of color & pattern all while mixing the frames with the canvases.  I laid everything out on my dining room floor for 2 days and kept tweaking until I got it the way I wanted it.

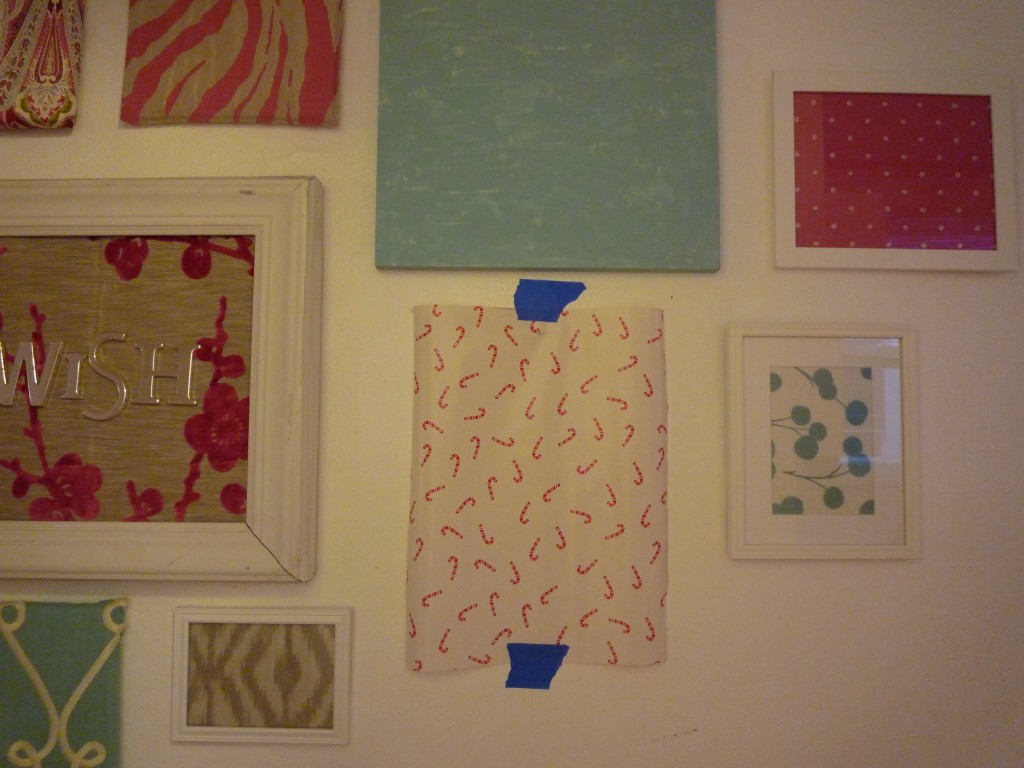
2.  I used old wrapping paper and cut out the overall size of each of the pieces and taped them all up on the wall.  I actually couldn’t take a good photo of this because the tape kept falling down.  However, I got one pic which hopefully gives you the idea.

3.  I started with the largest which is the “wish” piece and hung it slightly off center to the wall.  I tweaked each one a bit as I filled out the collage around it.  It is not important to have consistent space in this type of organic collage.  It is actually more appealing to have random spacing between the frames.

I’m very happy with how it turned out…have I mentioned that?


Decorating Idea: Outdoor Centerpiece Chic

Happy Almost Summer!  Are you ready to brave the heat and entertain friends and neighbors outdoors?

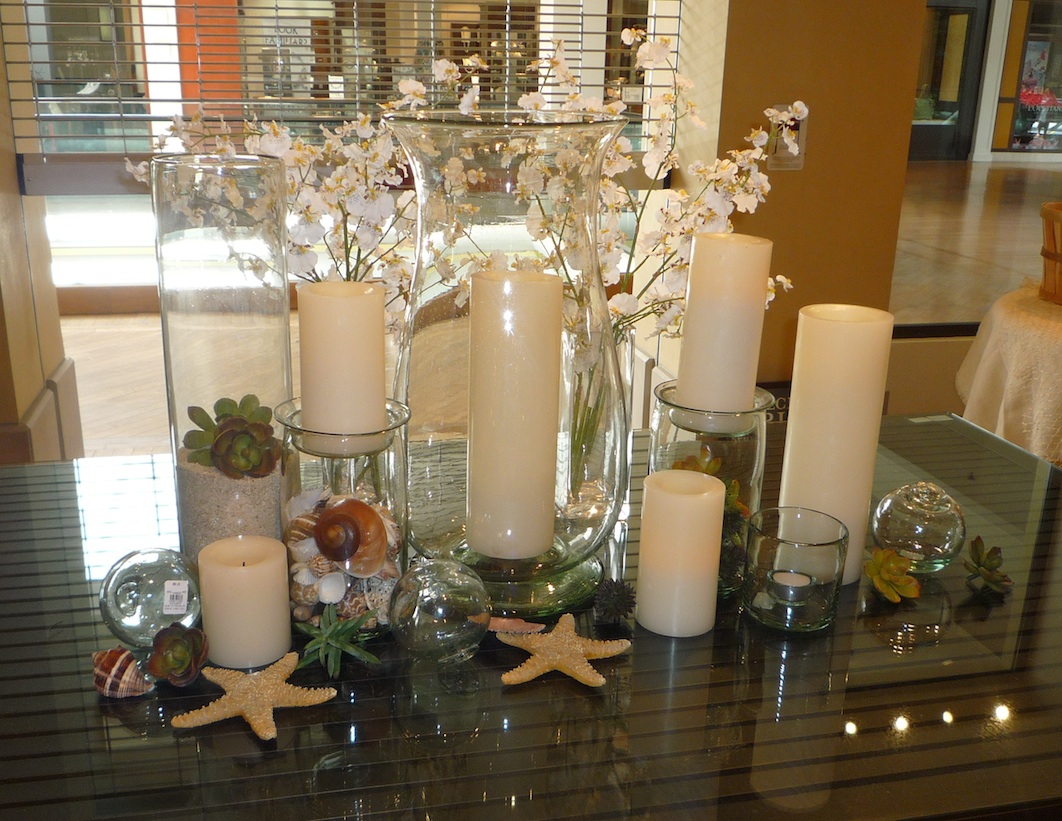
Some of you may know that I teach decorating classes at Pottery Barn a couple Sunday’s a month.  Luckily, they let me exercise my creativity and pull together some of my own ideas for the class.  Here’s a simple centerpiece idea I created using flameless candles, recycled glass candleholders and succulents.  It turned out very organic and natural if I may say so myself :)

outdoor centerpiece i created at pottery barn

One of the reasons this works is it is very neutral and would fit in with almost any decor or color scheme.  Another tip is to let one thing “shine” through in your design.  In this case, it is the candles.  When entertaining, especially at night, lighting can make or break your dinner party.  Too much and it doesn’t feel intimate, too little and it is hard to see your guests!  One of the things I love about flameless candles is their ability to flicker and “dance” like natural candlelight without the hazards.  Bonus: most flameless candles have a timer built-in.  Which means if you want your candles to come on every night at 5:00 and turn off at 10:00, you can make it happen!

Hope this idea sparks your creativity, too.  I would love to help with your decorating challenges!  Please email me with ideas or spaces you would like me to address.

Thanks & Happy Decorating!
HDDI Project: Evolution of My Media Console

So, after a couple years of deciding that I needed a larger media stand (you’ll see what I mean in the before photo) and not finding one that fit my budget and vision for the room, I decided to get creative.   When most people do home improvements, they tackle DIY projects.  I prefer the HDDI method, also known as, Have Dad Do It.

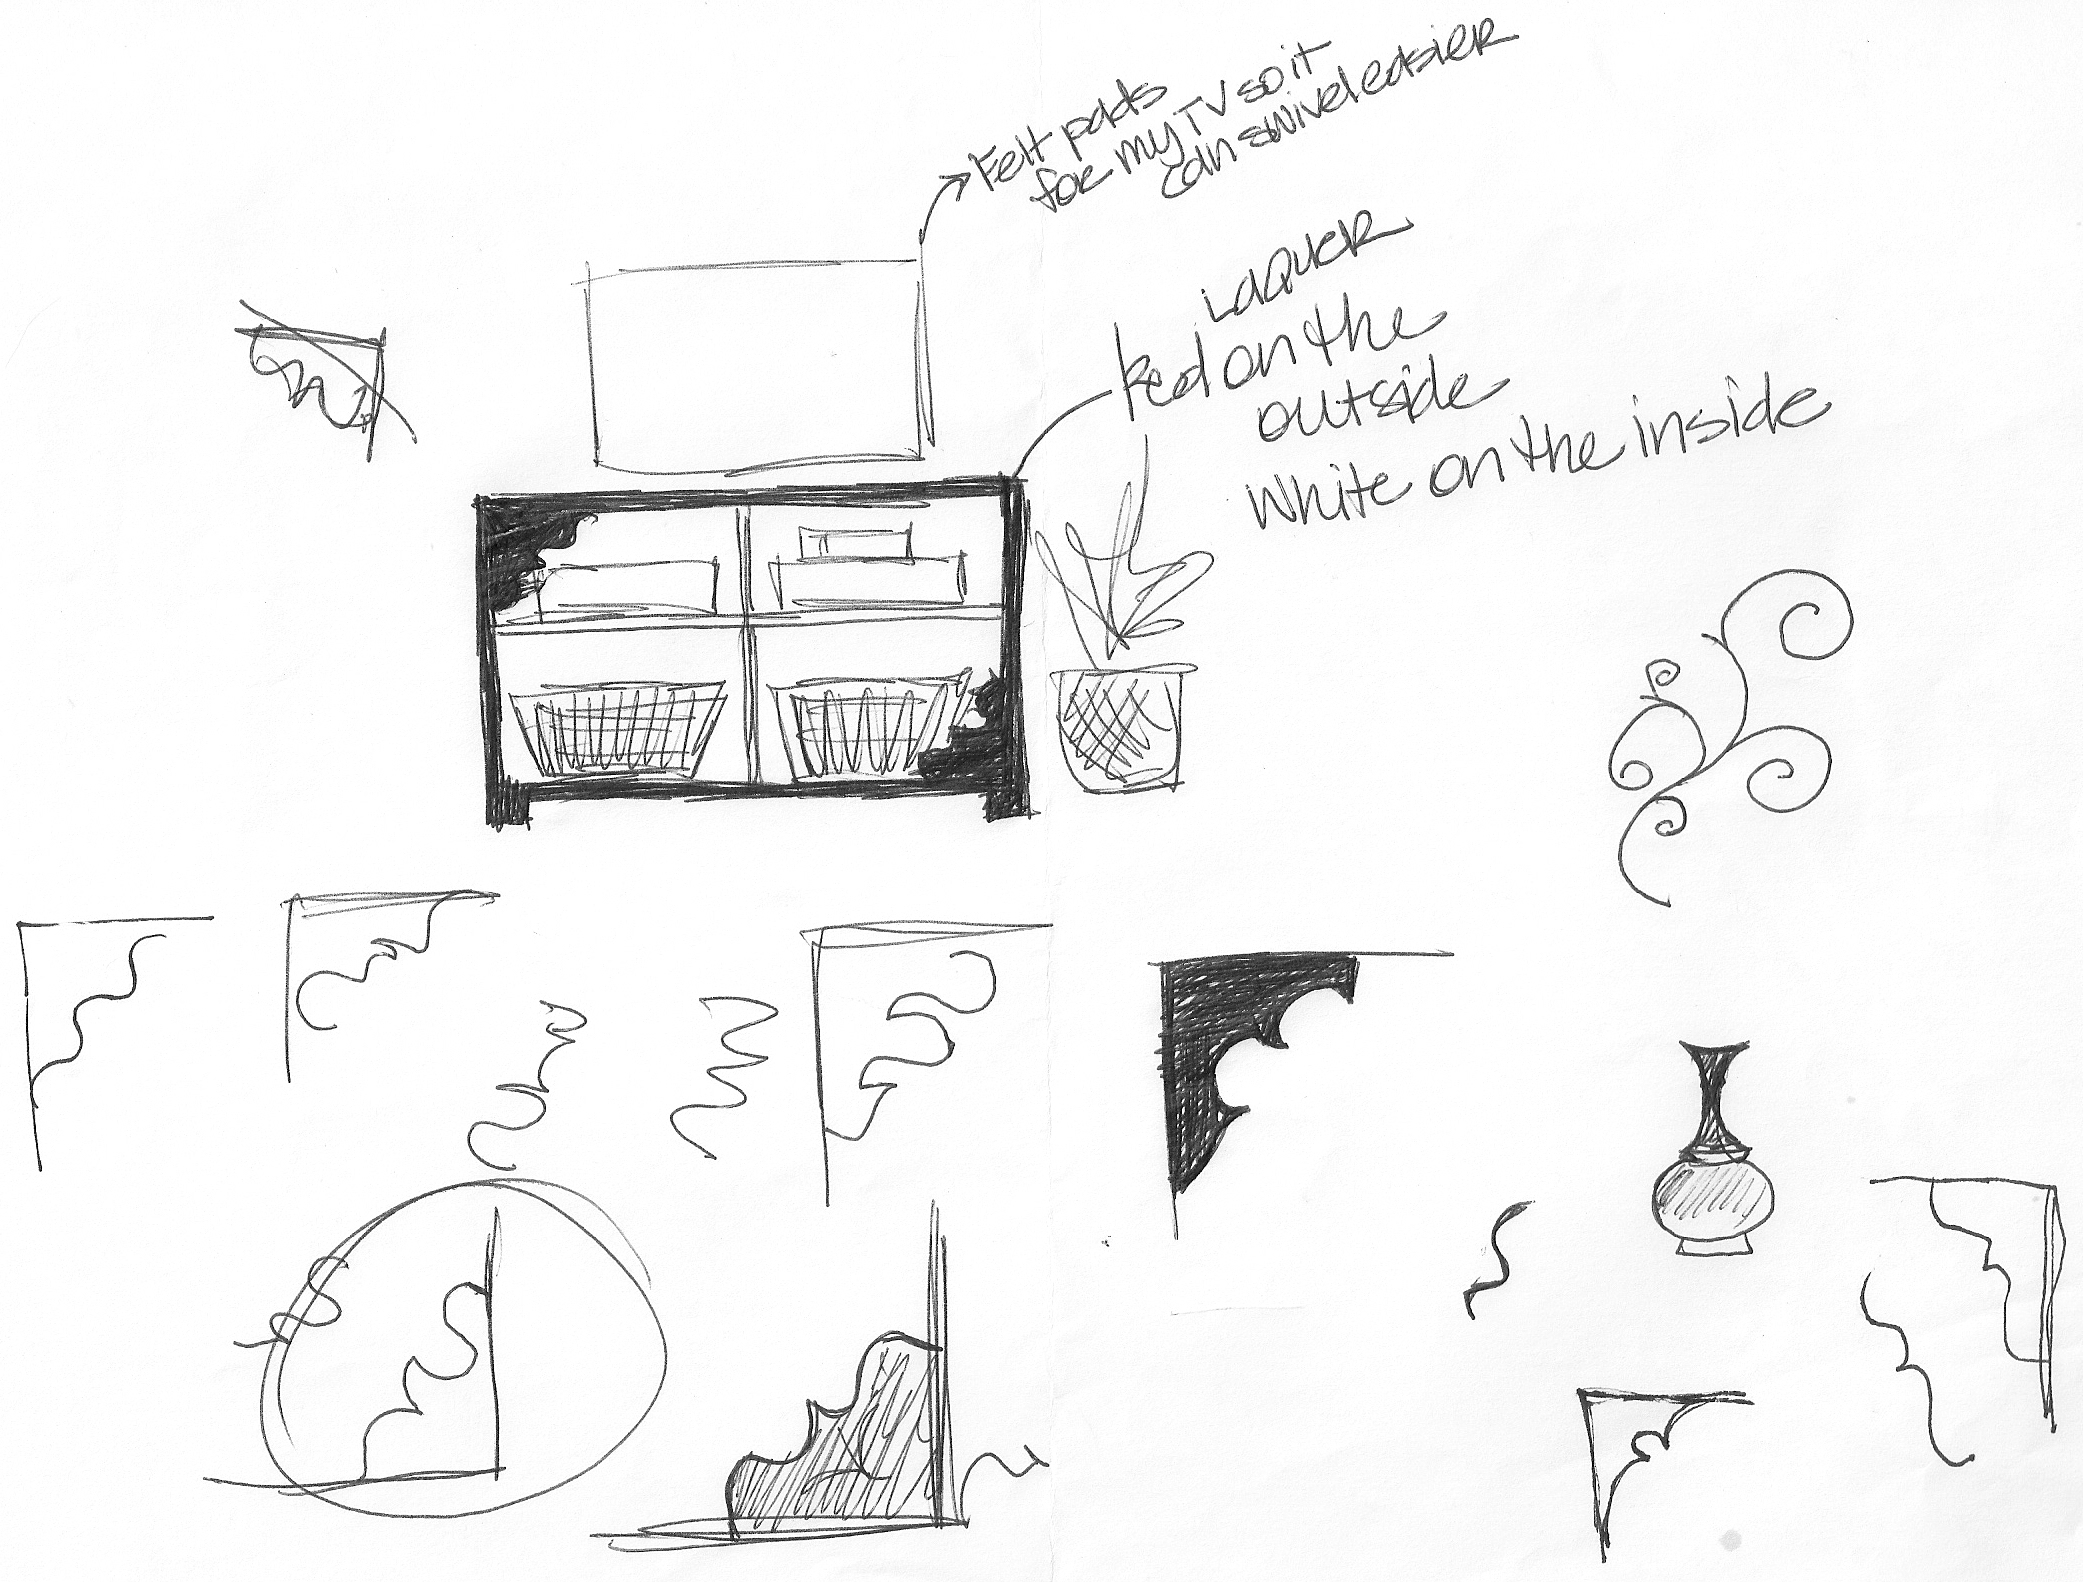
My dad is very skilled as a carpenter but committing to a time frame is not his forte because he is in high demand.  Luckily, my grandpa and my cousin were willing to help out with painting and hauling the completed piece to my apartment.  Now to get my dad on board with my concept.  As you can see by my sketches, I was definitely more focused on the little accent pieces…I did give him dimensions, I’m no dummy!  The goal was to get the baskets of movies in the console but still functional and hide all the wiring to my components.  I’ll let you judge the photos for yourself.  I bet you are already thinking of your very own HDDI project!  Thanks for all the hard work guys!

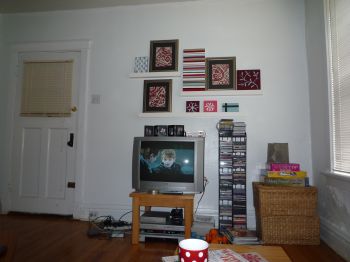
Before Media Wall - Yes, it's an end table...

My Concept Sketches
My Concept Sketches
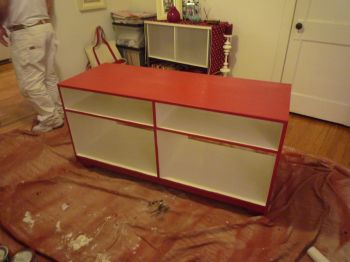
Phase 1 - The boys got carried away with the red paint on the center lines
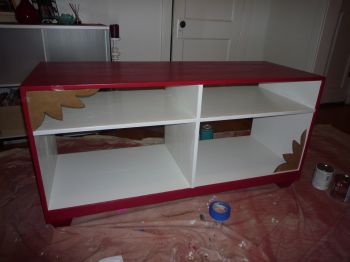
Phase 2 - I created the shapes out of cardboard with my arty friend's help
Phase 2 - I created the shapes out of cardboard with my arty friend Brent's help
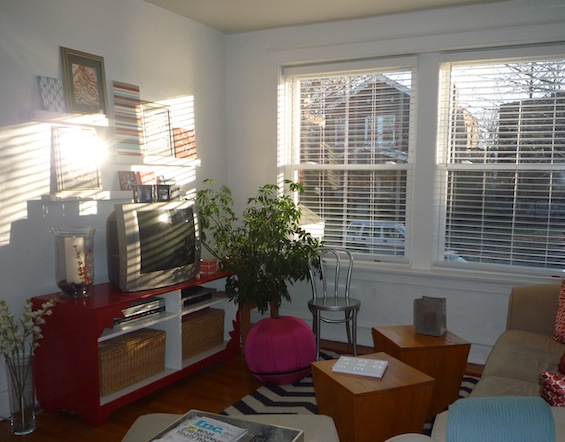
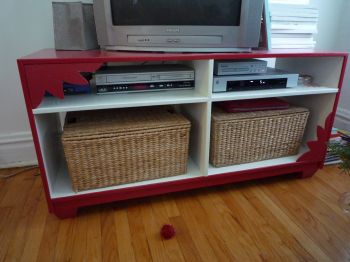
Voila!  Finished product - Functional & Pretty!
Voila! Finished product - Functional & Pretty!
New Media Wall - so much cleaner!
Team Photo Take 1 - Eric, quit moving!
Team Photo Take 2 - Grandpa's not smiling
Team Photo Take 3 - This will have to do!