I’ve always loved the soft swags of pine roping I see in magazine photos. I finally got the perfect opportunity at my client’s house last year! See below for the process and the finished product!

So, the concept photo shows Mixed Greens roping which costs 3 times as much as the traditional White Pine roping and my client and I decided to go with the less expensive option, especially since it was our first time attempting this!

I had my handyman meet me at my client’s house while she was out running errands. I kind of wanted to play with this a bit without her feeling like we didn’t know what we were doing! Plus I wanted the “wow” reaction when she came home!

When we started to lay out the bundle, it was a like a clown car that just kept growing and I really began to get a sense for 75 feet of pine roping! At that point I was much more confident that we had enough to get the job done.

While Joe was draping, I started making bows out of the burlap so we could see how long to cut each ribbon. In order to secure the roping, we used plastic zip ties which wouldn’t scratch the wood railing and would hold the roping in place.


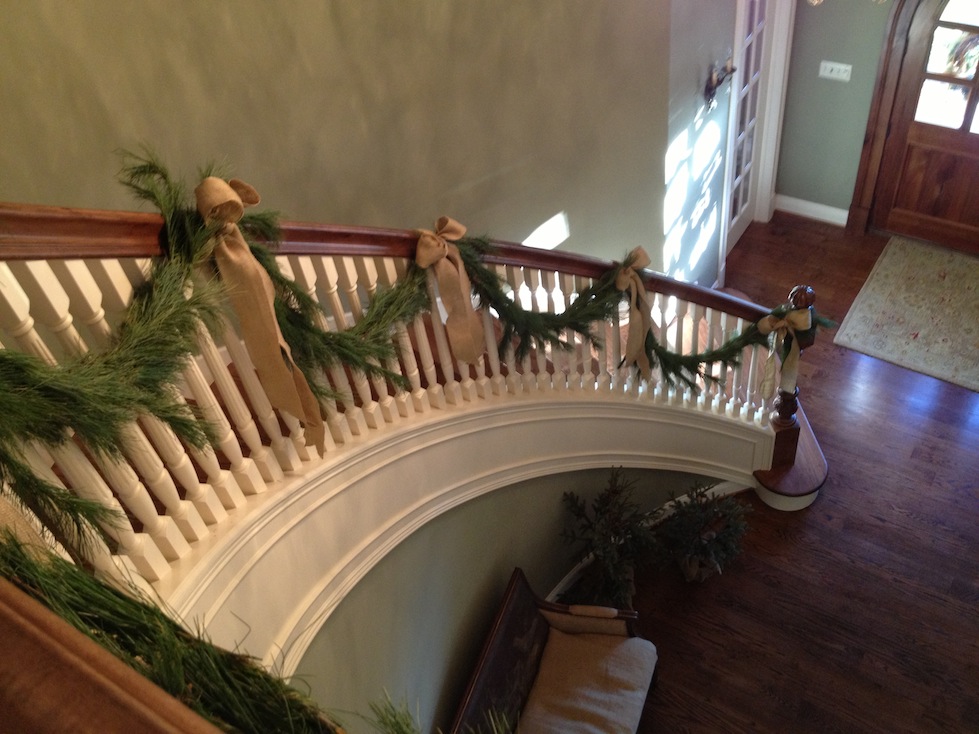
My client and I were very happy with how it turned out and it added such a simple festive element to her entry. Not to mention the smell of the live pine roping was amazing! It didn’t cost that much for roping and the ribbon we saved which makes this something she can do every year.
If you have a concept for holiday decor that you need help executing, let me know!
Happy Decorating!
